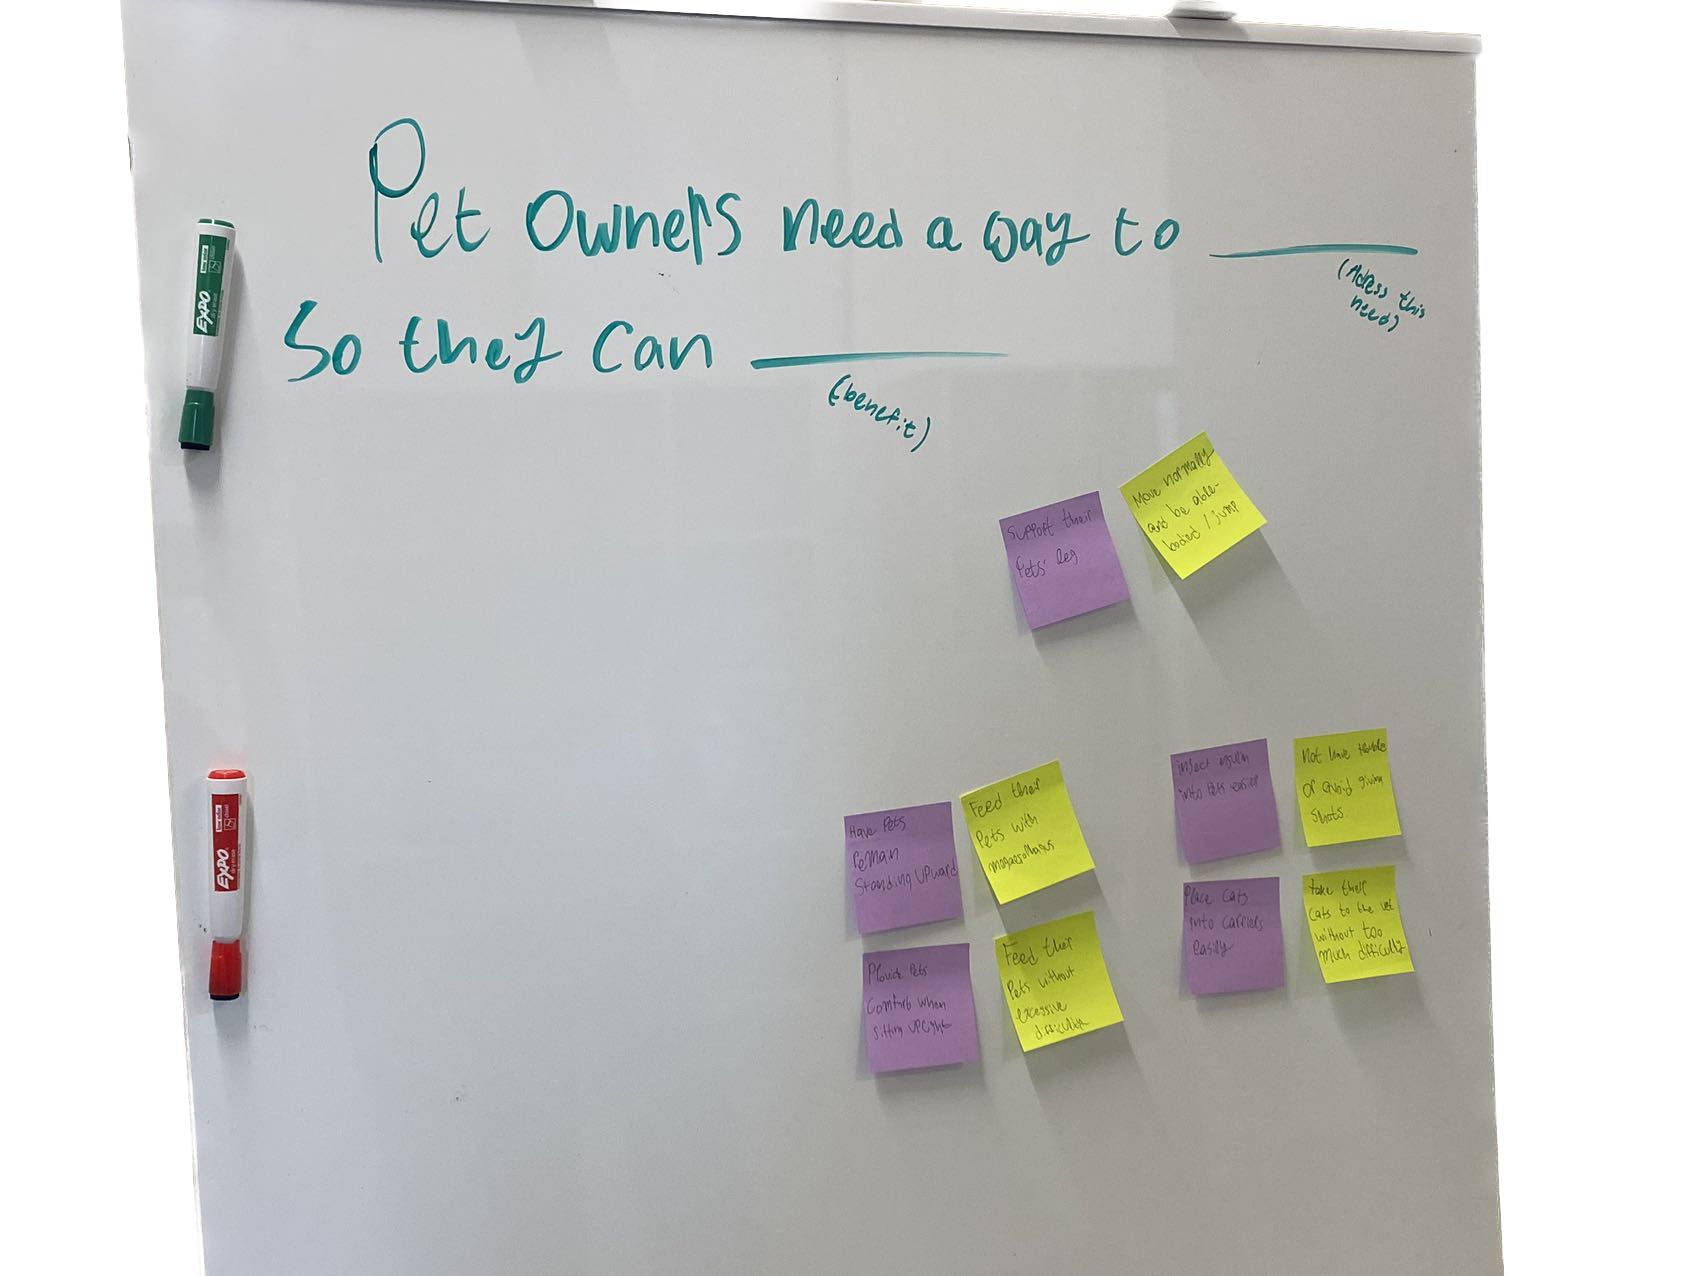
Mark Zhang

Engineering Documentation

Iterations

November 21th, Tuesday, 2023

Since last week, we started working on iterations of the prototype Bailey chairs, trying with different materials and designs.

Interactive index

Needs Statement Iteration 1 Iteration 2 Iteration 3 Iteration 4-failures Iteration 4-success

Needs Statement

In Needs Statement, we should frame our activity in this way: [Our user] needs a way to [addresses this need] so that they [benefit in this way.] it's clear that [Our user] is the [Cats] in our case.
I listed 3 needs and their corresponding benefits:

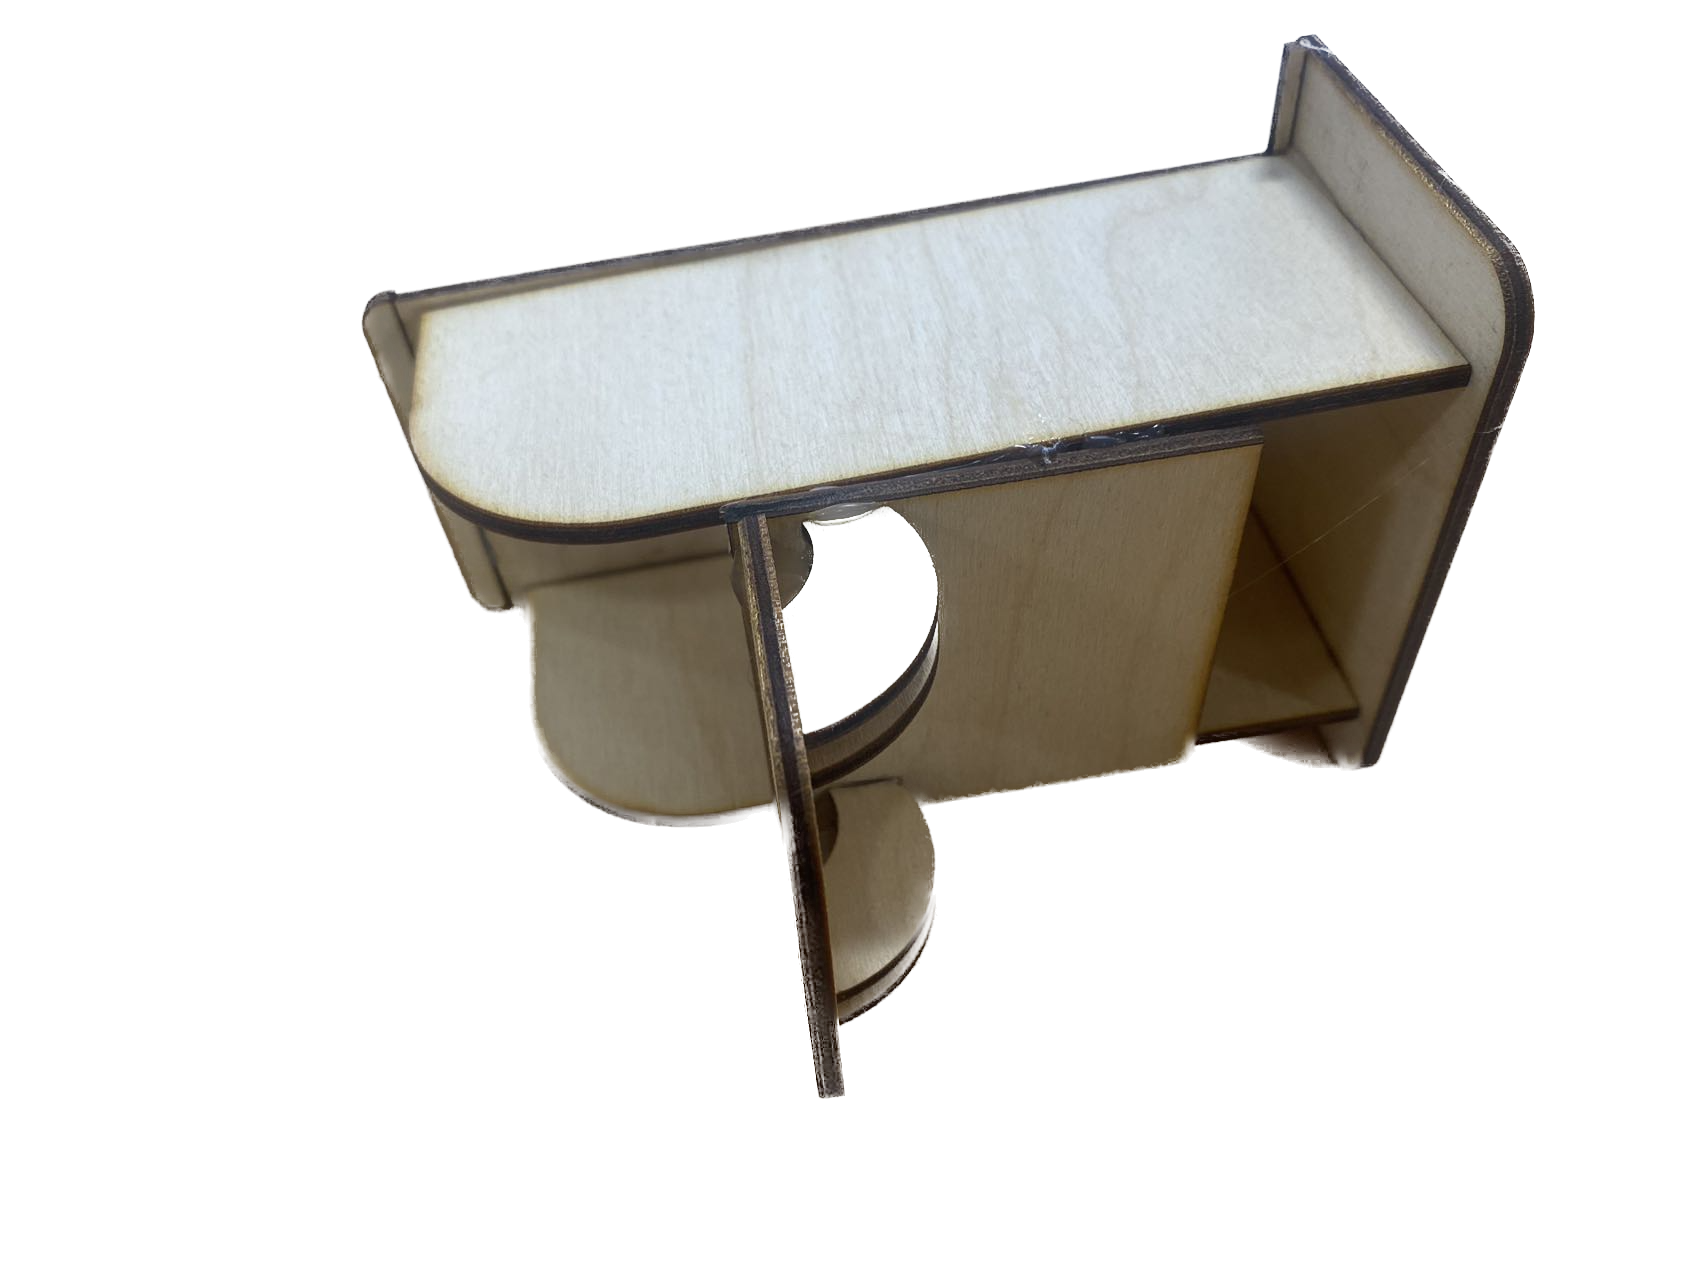
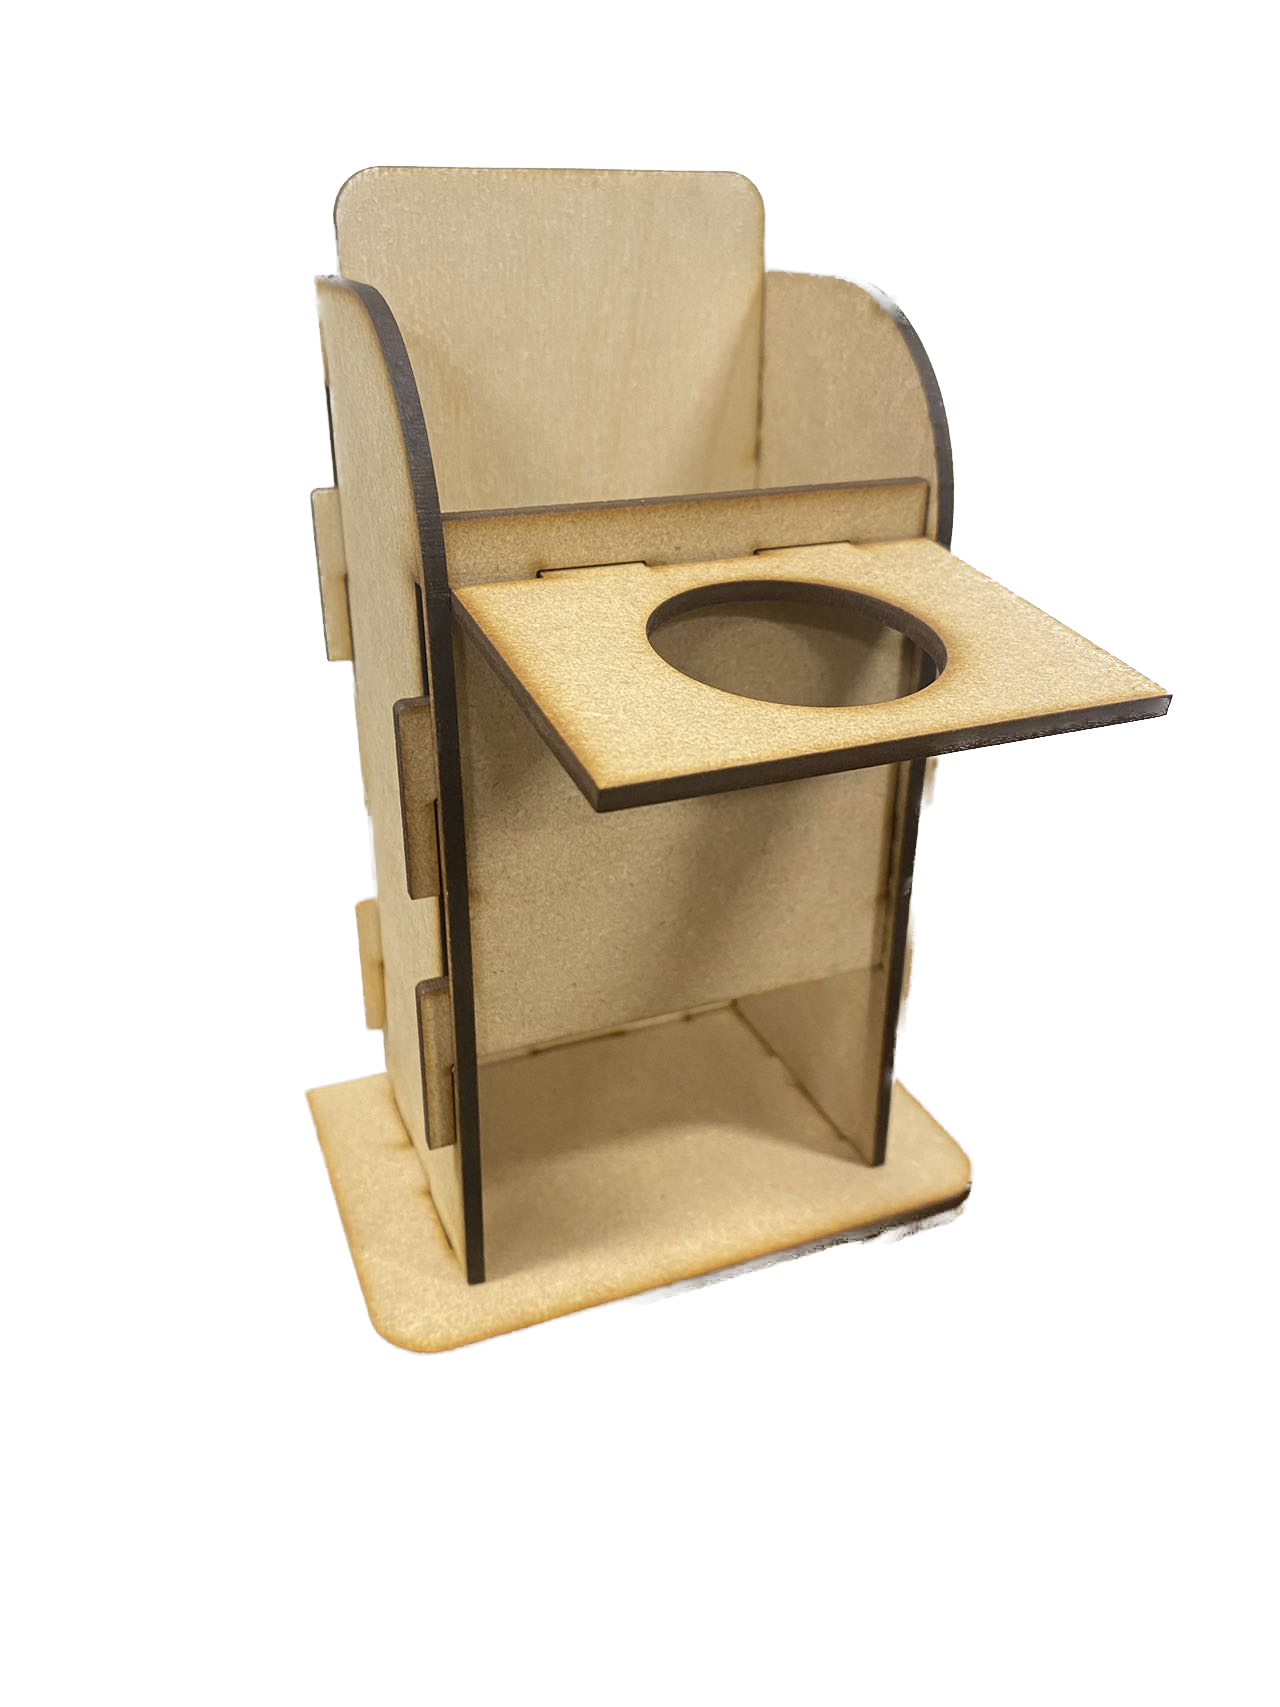
1. [Need]a high plane connected to the chair to hold food/tray -> [benefit] can eat without lowering their heads, in turn, no contortion of their esophagus
2. [Need]a narrow room -> [benefit]are forced to stand upright while eating food
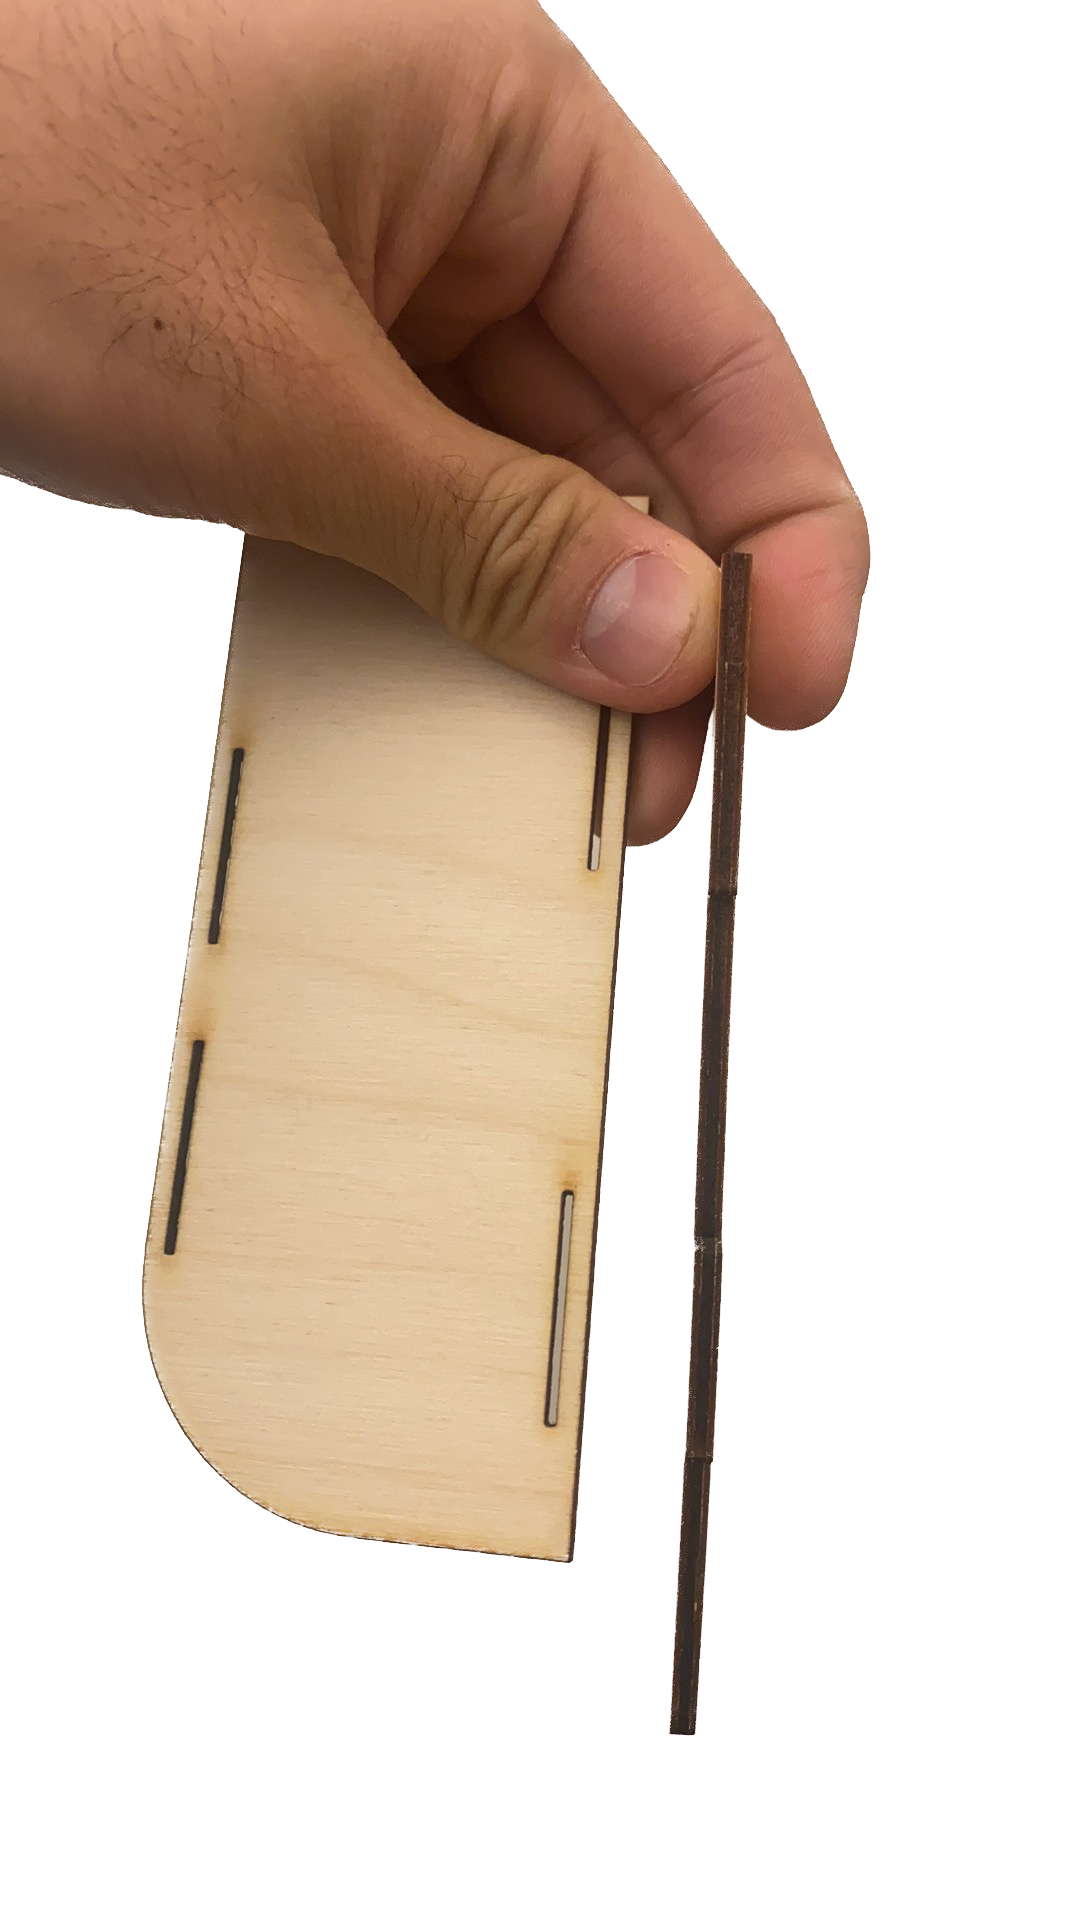
3. [Need]the chair to be rigid and resilient-> [benefit]won't break the chair because of their naughtiness.
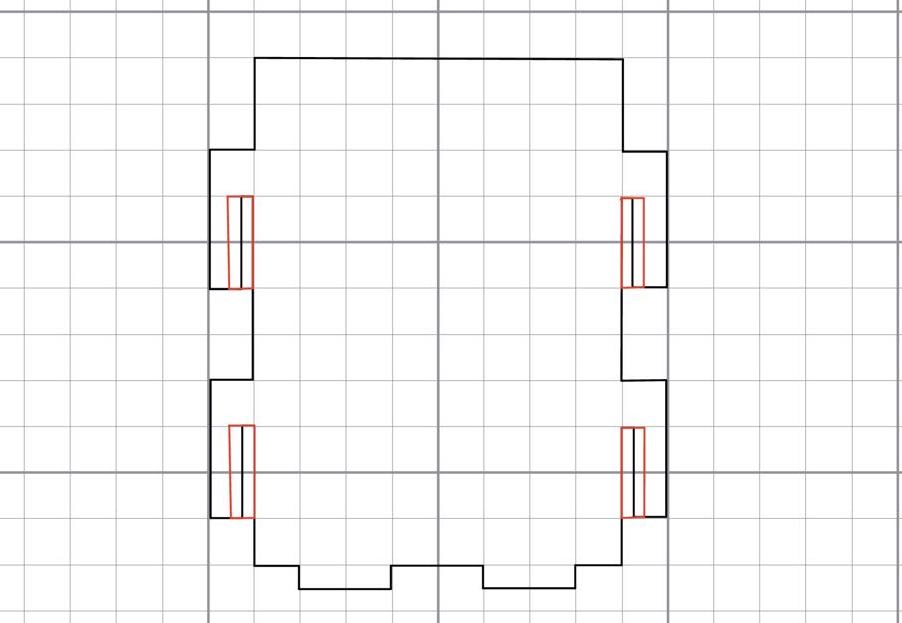
4. [Need]the chair to be portable-> [benefit]can be carried to wherever they want.

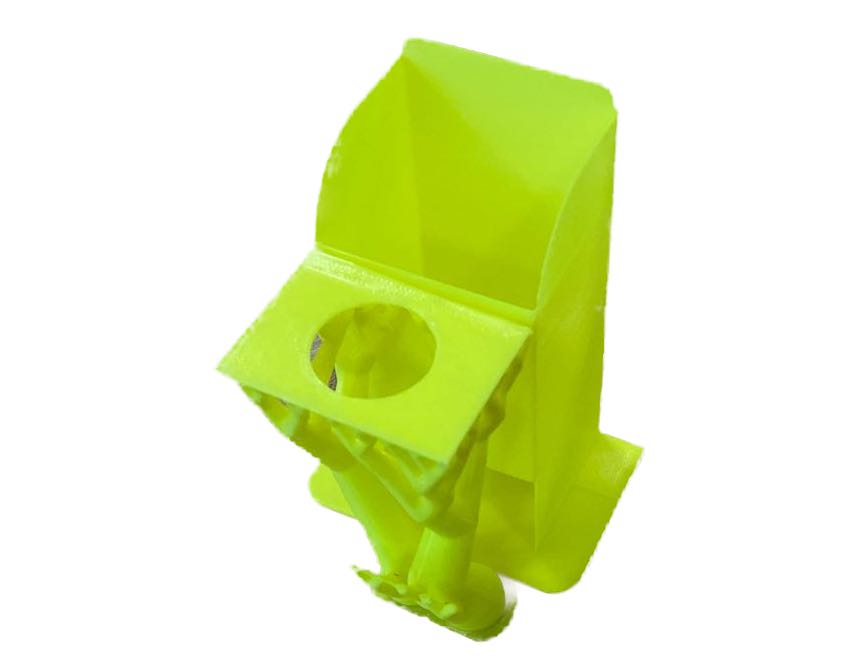
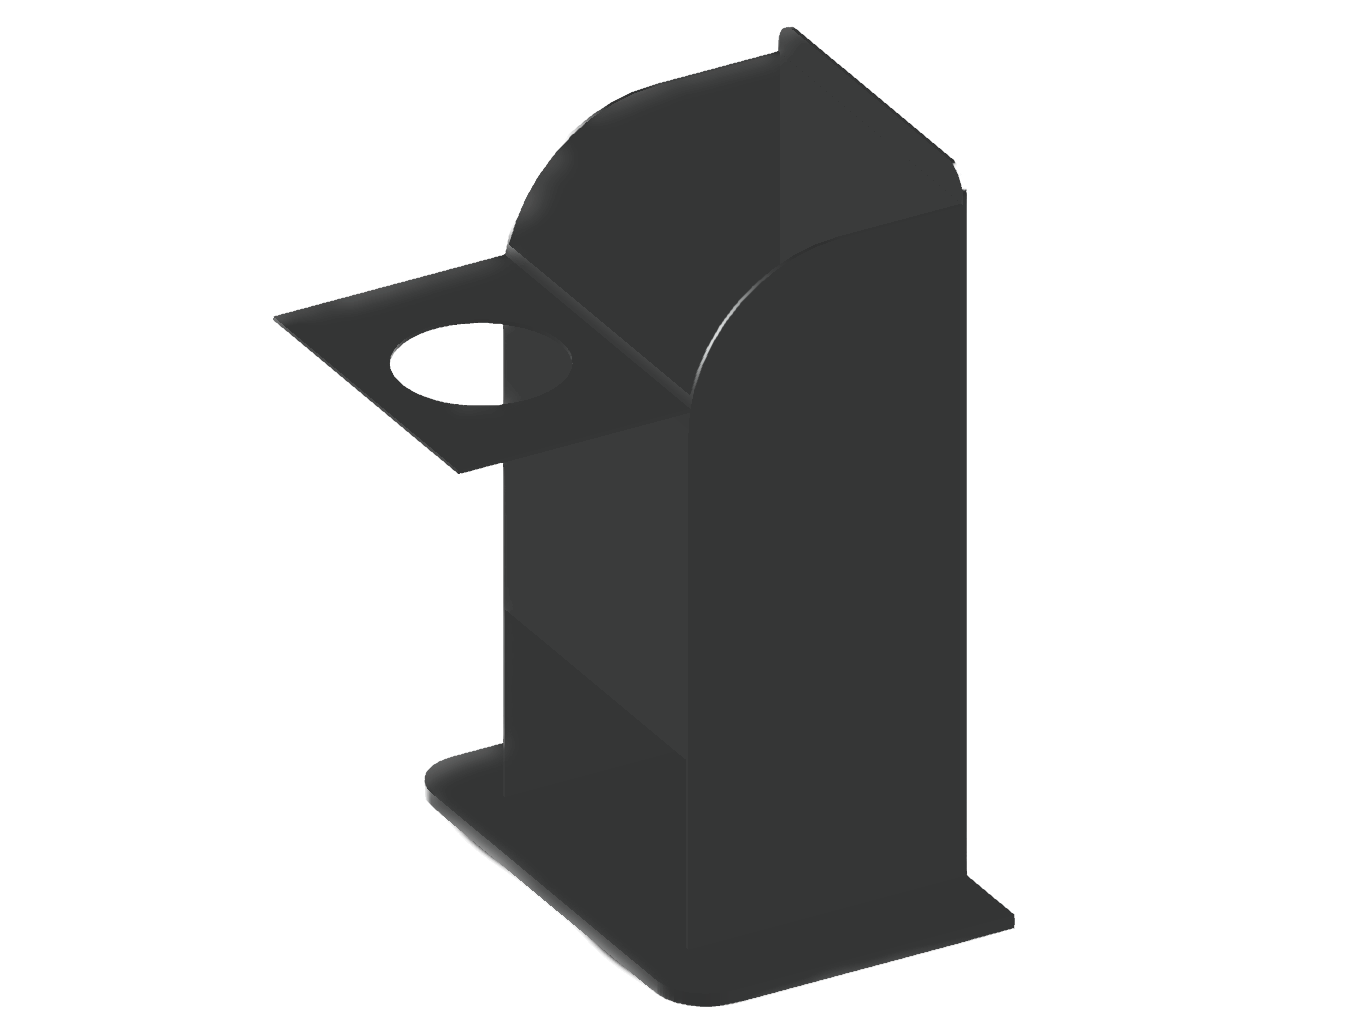
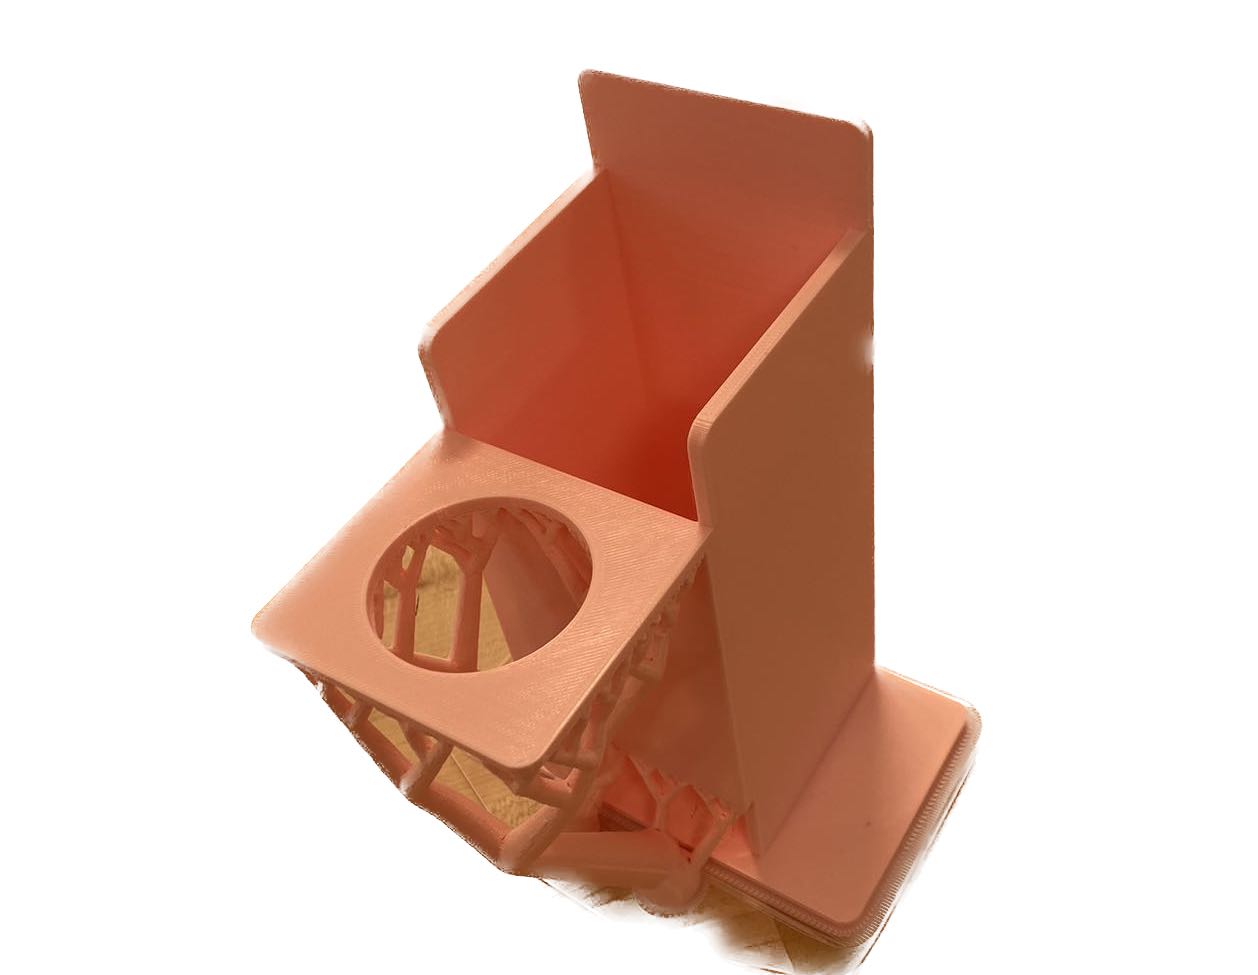
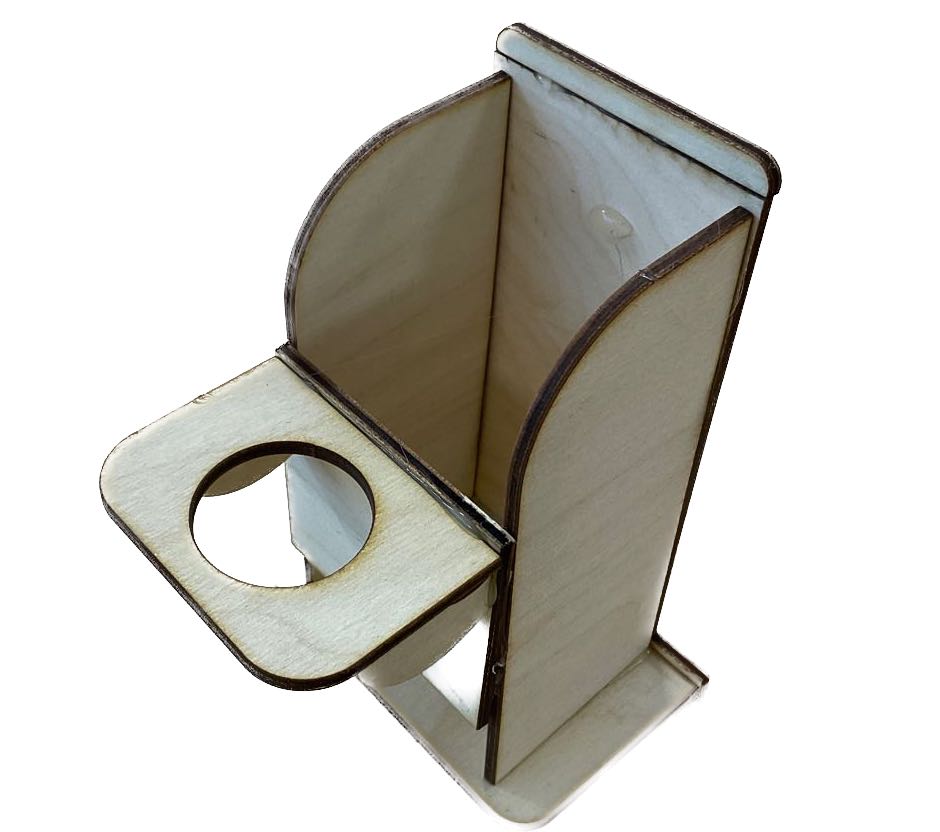
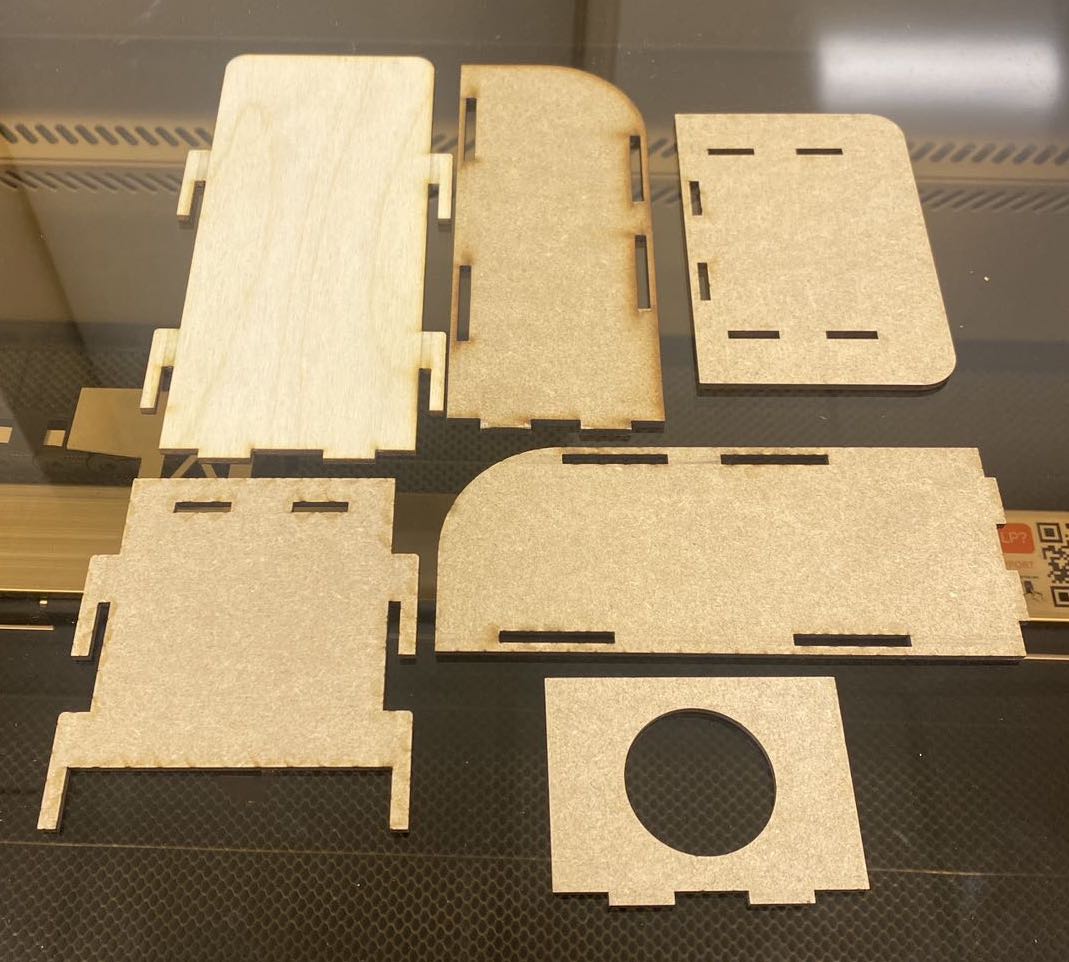
As designers, we need to make sure incorporating these features into our prototype: 1. a narrow, upward room. 2. a high, external plane to hold food. 3. a strong structure made of rigid material. 4. portable, in other words, the chair should be assembly-able, consisted of several pieces instead of an inseparable whole

Iteration 1

We sketched a simple design in Fusion 360 based on online resources. It contains the necessary features but is not overly intricate, allowing us to have a starting point. The design is scaled, and we made extensive use of the parameter function for future adjustments. When considering the position of the food plate support plane, we opted for organic support instead of a grid support, as it is easier to remove. However, a printing issue arose where the plane detached from the body due to the joint being too thin. In the next iteration, we plan to redo the CAM design to address this issue.

Iteration 2

Now you can see the important use of the parameters. We simply adjusted the thickness. The organic support had done a great job so we applied the same slicer settings. This time, as expected, was more successful than the first try.

Iteration 3

Considering the cats can be naughty and break the chair, we decided to switch the material from PLA to MDF, lasercutting instead of 3D printing. Besides, we noticed that sharp corners might hurt cats. Therefore, we applied 'Fillet' feature of Fusion 360 to round the corners of our designs. Another issue we had learnt from previous iterations was that the food plate is shaky and needs support from below. Therefore, we add fours supports beneath the food plate. We used glue to join all parts together.

Iteration 4-failures

I was responsible for Iteration 4. In Iteration 3, we 'expediently' joined all parts using glue; however, this approach is far from ideal, especially considering the potential need to scale the chair larger. Leaving the joints of the final product in that state is not viable. Therefore, I designed hooks on each component's edges, along with tabs and slots on the base and sides, collectively forming a stable structure. The Fusion design was not challenging. However, I encountered several issues during the CAM process:

Failure 1: Scaling the sketches on LightBurn would have made the hooks, tabs, and slots, initially designed for 3 mm MDF material, smaller than the intended fit. Consequently, I had to retain the 3mm dimension of these joint features.

Failure 2: Even after retaining the dimensions of the joint features, their relative positions could go awry. To address this, I had to calculate the relative positions in advance.

Failure 3: Unlike tabs and slots, which could be adjusted individually on LightBurn, the hooks were within the component body. This meant I couldn't adjust them directly on LightBurn.(this also shows the limitation of 2D reductive engineering) Professor Ian suggested laying another larger rectangle on top of the component body to ensure the gap between the hook and the body remains exactly 3 mm.

Iteration 4-success

After thousands of failures and adjustments, I finally succeeded, and I'm proud of myself! I've learned a lot from these failures, with the most valuable lesson being the technique of overlaying another pattern onto the body. This method allows for enlarging a gap while keeping other features in the same component unchanged. Here is a demonstration video of the assembly process. This iteration enables the design to be portable.